What Embossing Studio does
Embossing Studio turns a flat image into a bas-relief height map — a grayscale image where brightness represents height. Your laser or CNC reads that height to carve a raised, tactile relief into a surface like wood, acrylic, or slate. It is the second half of the photo-to-emboss workflow; for the big picture, see the studios overview.
1. Load an image and pick the model
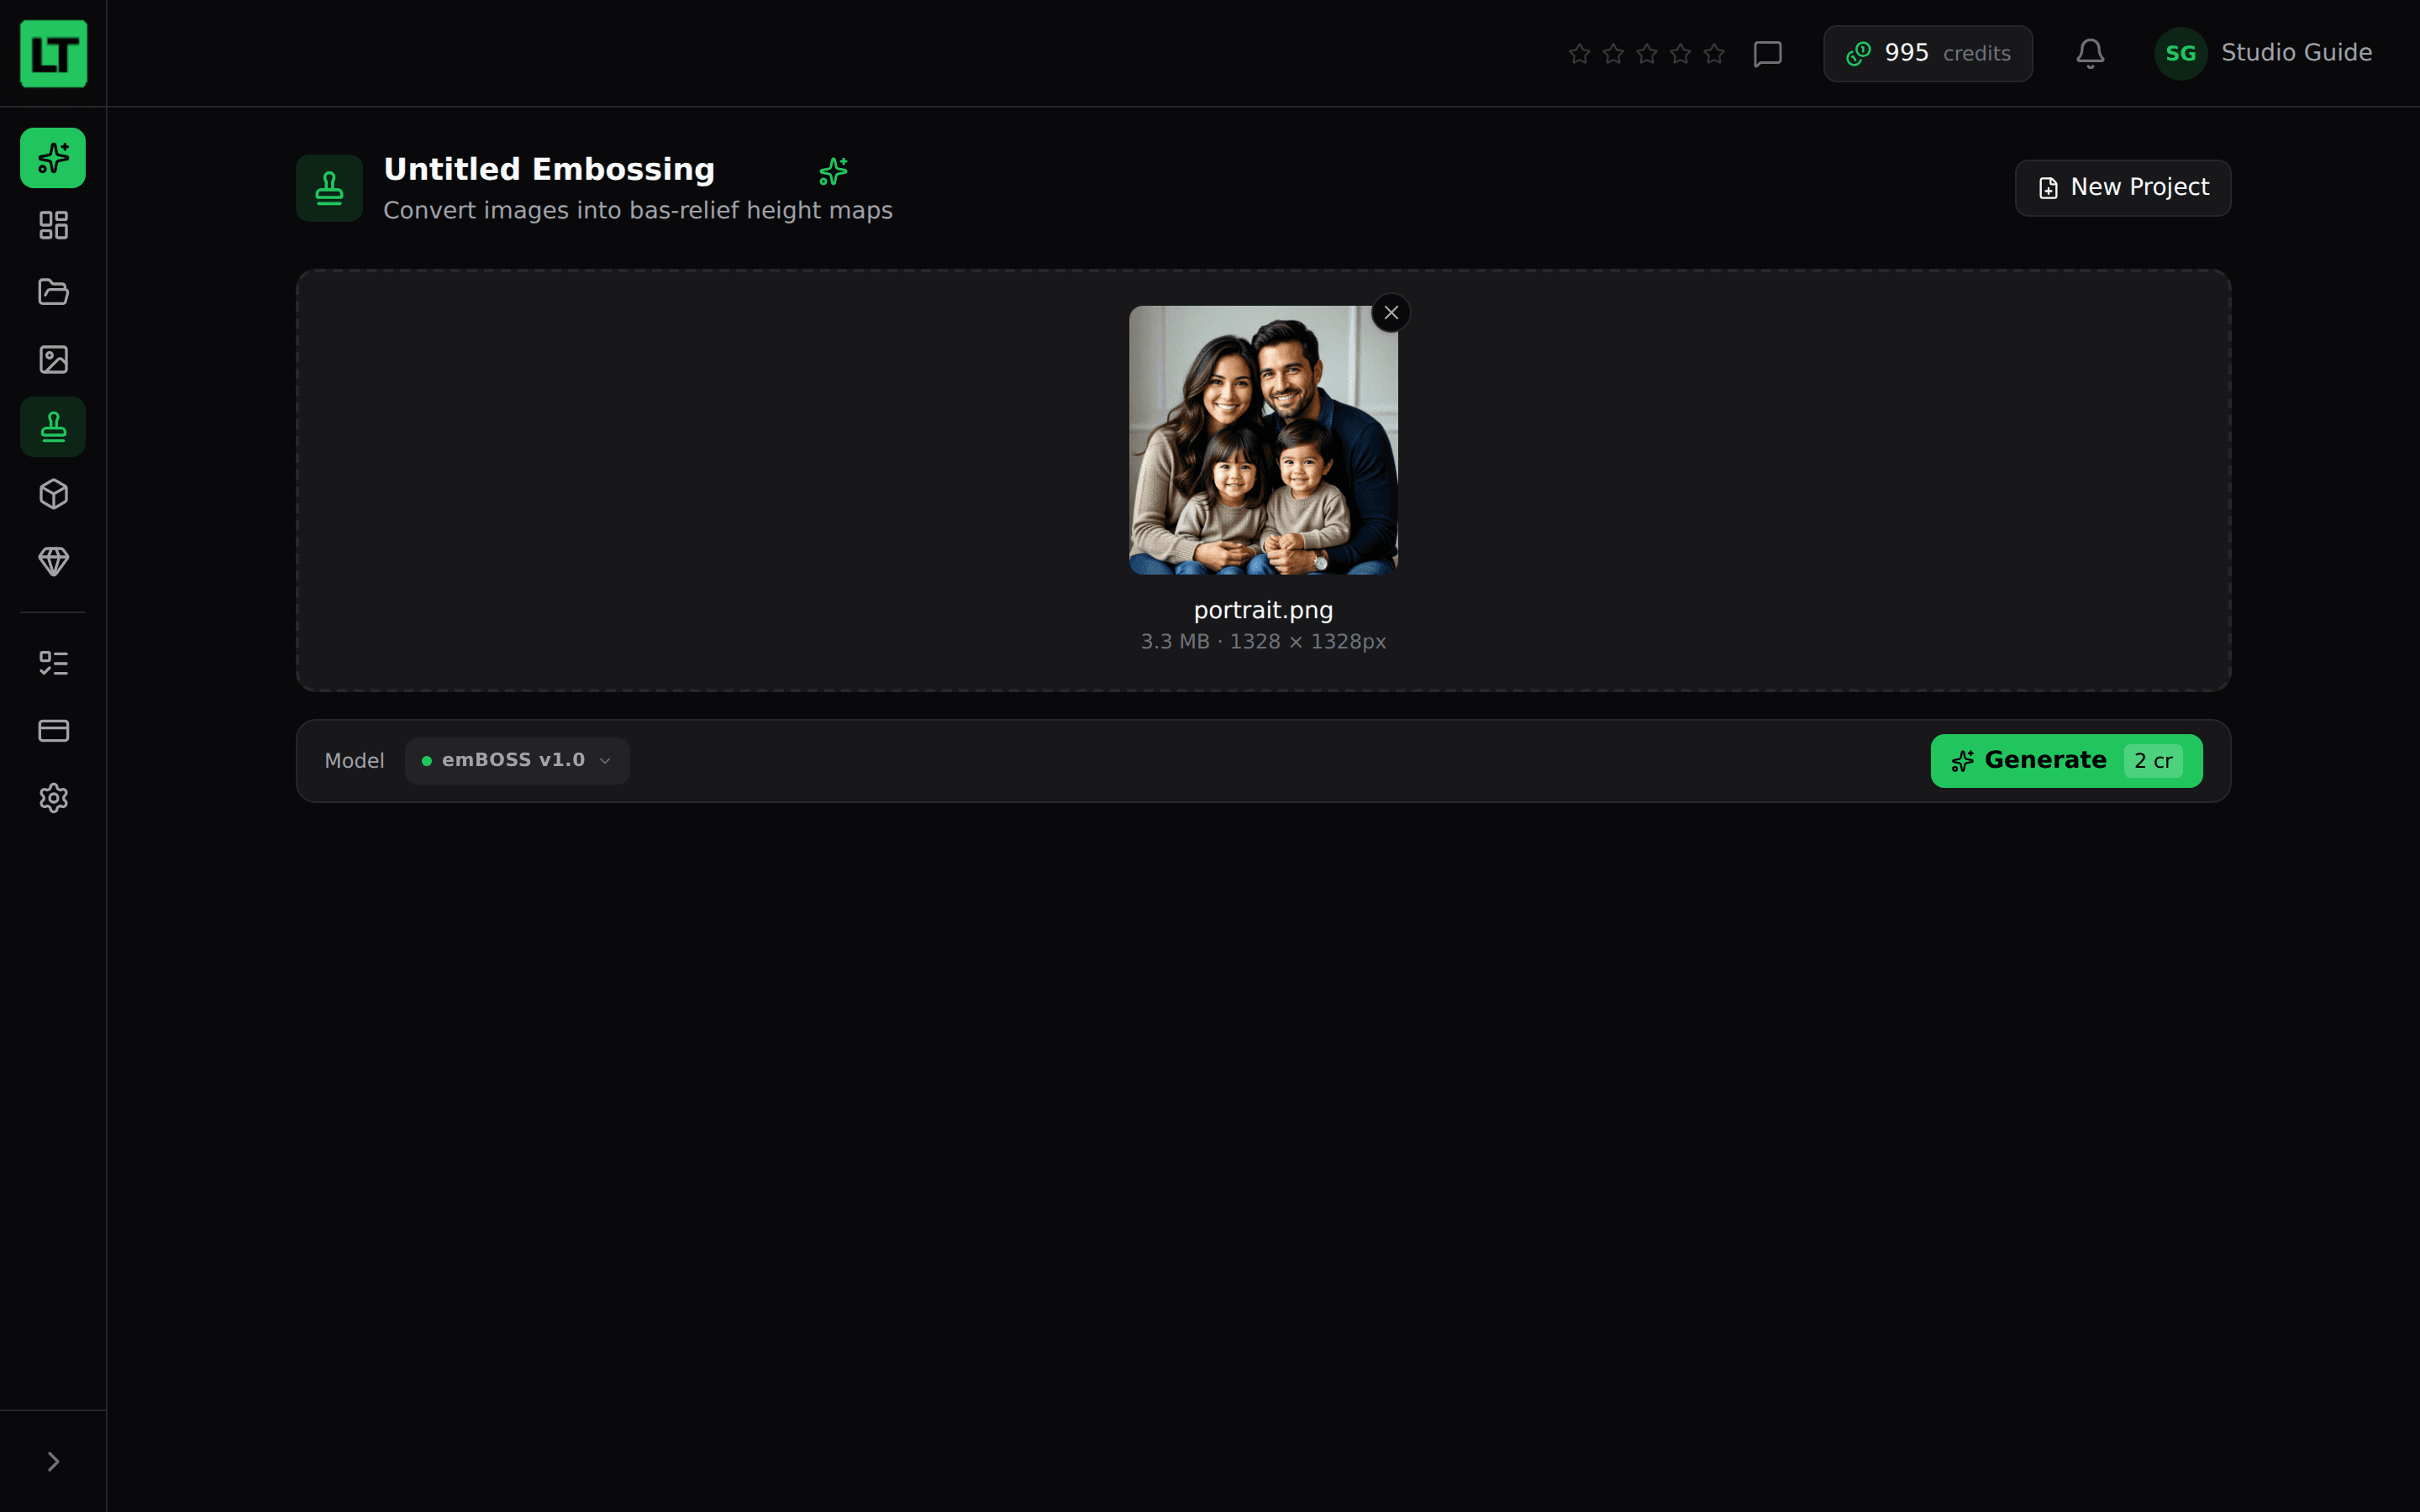
Drag and drop, browse, or paste an image — or click Edit in Photo Studio to prepare one first and send it across. Images with a clear subject and clean background emboss best, which is why many people generate a "bas-relief" optimised image in Photo Studio before coming here. With an image loaded, choose the emBOSS v1.0 model and press Generate — the credit cost is shown on the button.
2. Preview, crop, and tune the depth
After it generates, you get a live 3D preview you can orbit. Toggle between the Photo view (your image on the relief) and the Depth view (the raw height map) to judge the result, and use Reset camera to recentre.
Two controls shape the output:
- Crop — choose a Rectangle or Circle region and drag it over your image to focus the relief on what matters and trim the edges.
- Depth Scale — exaggerate or soften how tall the relief stands. Higher values give a more pronounced, dramatic relief; lower values keep it subtle. There is a reset button to return to the default.
3. Export the height map
When you are happy, export an 8-bit PNG with transparency — the standard input for laser and CNC relief engraving. Load that PNG into your machine software, set your depth and material, and run the job. For more background on preparing depth maps, see embossing depth maps from photos.