The studios, and how they fit together
LaserTools is a set of connected studios that take you from a picture to a file your laser can engrave. You can use any studio on its own, but they are designed to hand off to one another, so the easiest way to think about them is as two short workflows.
- Photo → Embossing — create or clean up an image in Photo Studio, then turn it into a bas-relief height map in Embossing Studio for surface engraving on wood, acrylic, slate, and similar materials.
- Photo → Mesh → Crystal — start with an image, build a 2D mesh from it in Mesh Studio, import that mesh into Crystal Studio, arrange it inside the crystal, and convert it to a point cloud for subsurface (inside-the-glass) engraving.
Everything below is hands-on, with screenshots from the real app. If you only read one section, make it Photo Studio — it feeds every other studio.
Photo Studio — create, edit, and clean up images
Photo Studio is where every project begins. You can upload your own picture (drag and drop, click to browse, or paste from the clipboard), or generate one from a text description. To generate, type what you want, pick a model, and press Enter or the arrow button. The credit cost is always shown right on the button before you commit. This section is a tour; for the full, control-by-control guide see the Photo Studio walkthrough.
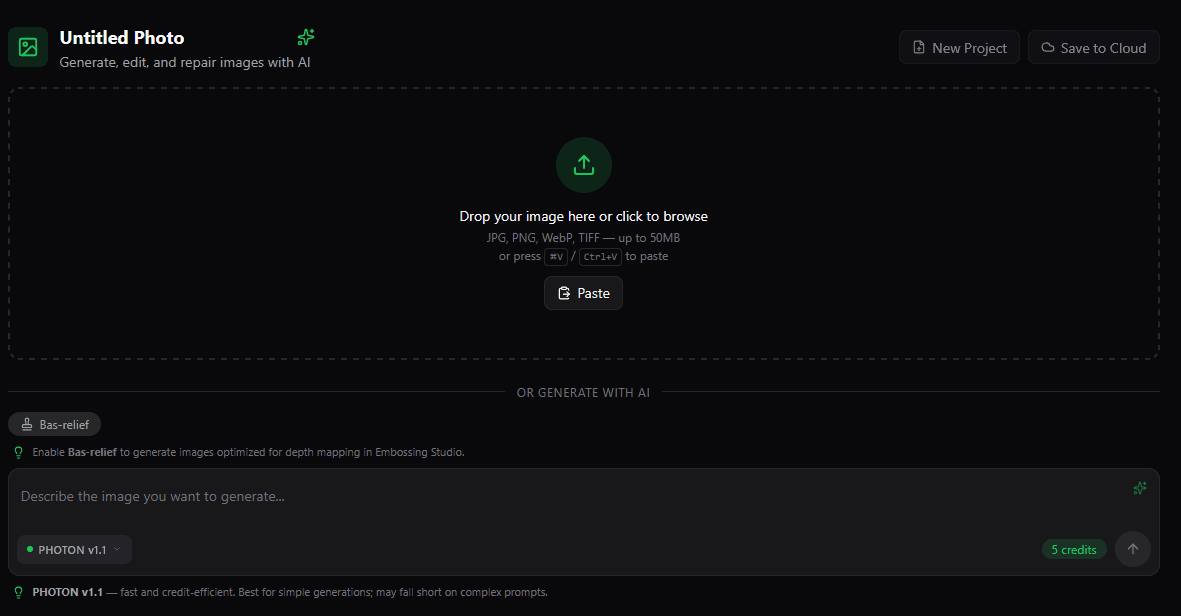
You can choose between image models:
- PHOTON v1.1 — fast and credit-efficient. Best for straightforward images; it may struggle with very complex prompts.
- WAVELENGTH v1.2 — the highest-fidelity model, great for complex prompts and fine detail. Available on paid plans, and it adds Size and Quality options (higher quality costs more credits).
- ZATURN v1.0 — coming soon.
Here is a portrait generated with PHOTON, which we will carry through the rest of this guide:

Once an image is loaded, the full editor appears: your image in the centre, adjustment controls on the right, an AI edit box below, and an export bar at the bottom.
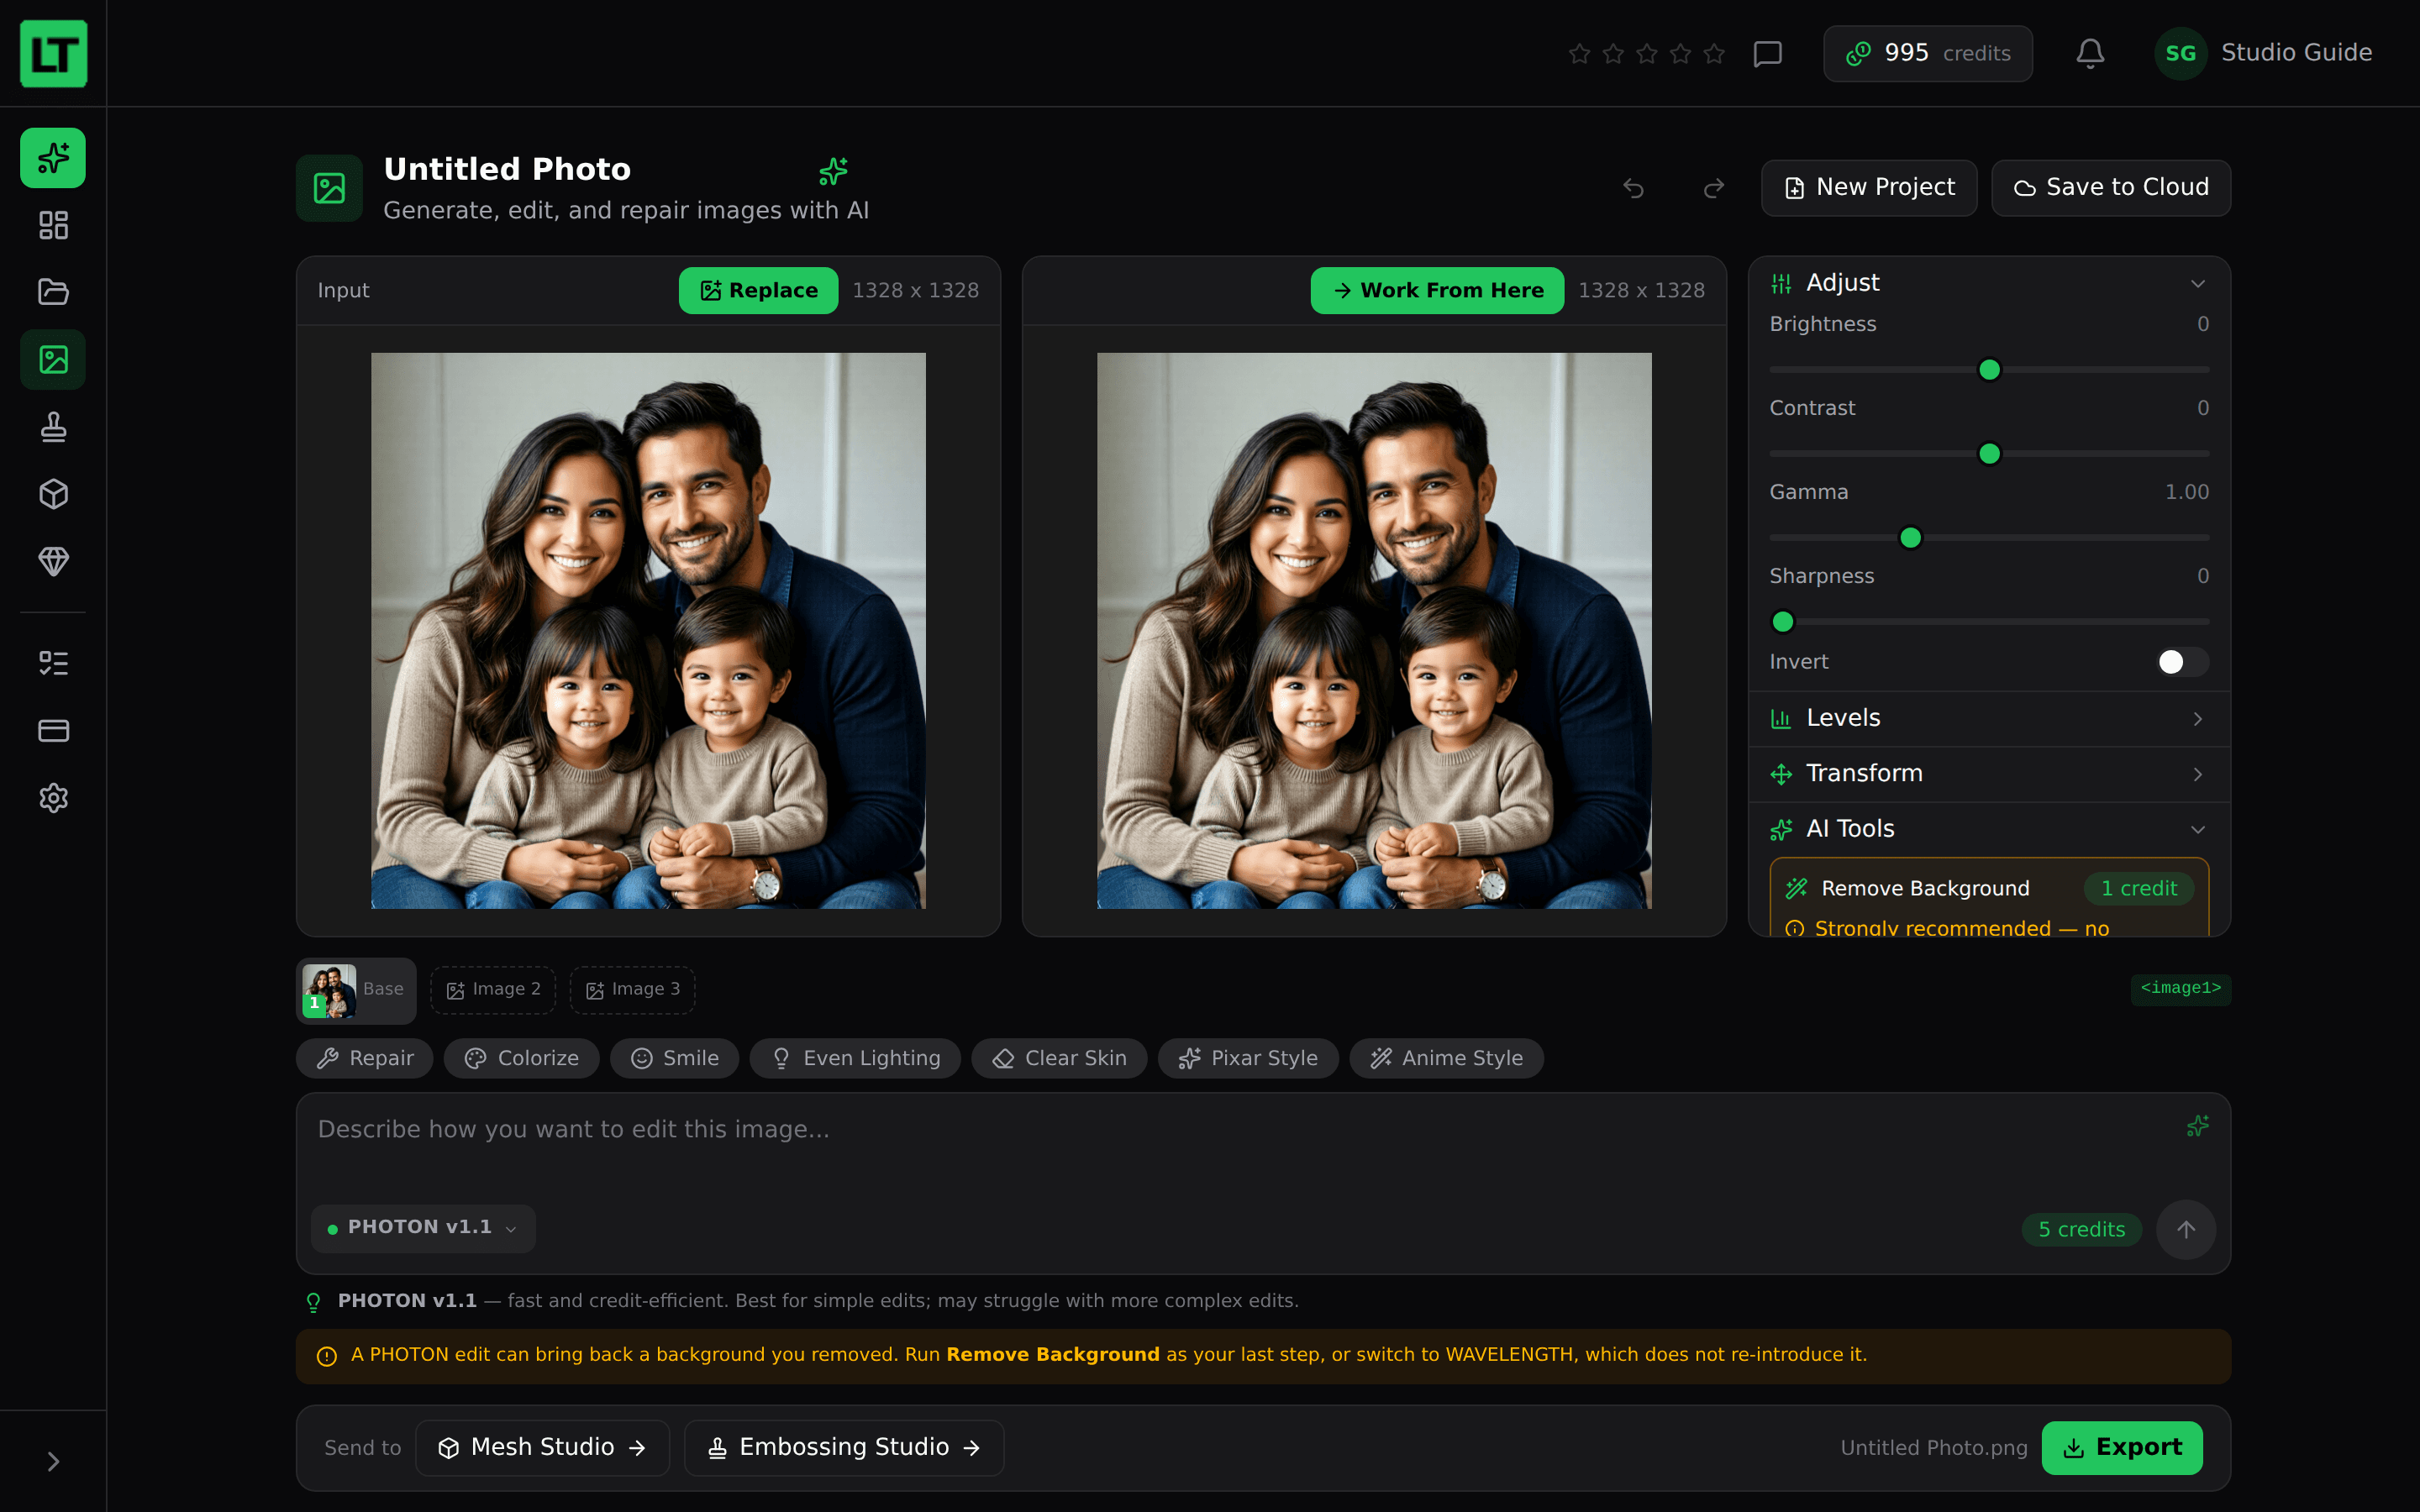
Adjust, Levels, and Transform. The right sidebar holds non-destructive controls. Brightness, Contrast, Gamma (midtone brightness), and Sharpness each run from a neutral centre; Invert flips light and dark. Levels shows a histogram with black-point, white-point, and midtone sliders for precise tonal control. Transform rotates 90°, flips horizontally or vertically, and crops. Every slider has a reset button, and Work From Here bakes your current look into a new starting point.
AI edit. The edit box rewrites your current image from a description. Tap a preset chip (Repair, Colorize, Smile, Even Lighting, Clear Skin, Pixar Style, Anime Style) or write your own instruction, and you can add up to two reference images and point to them with the image tags.
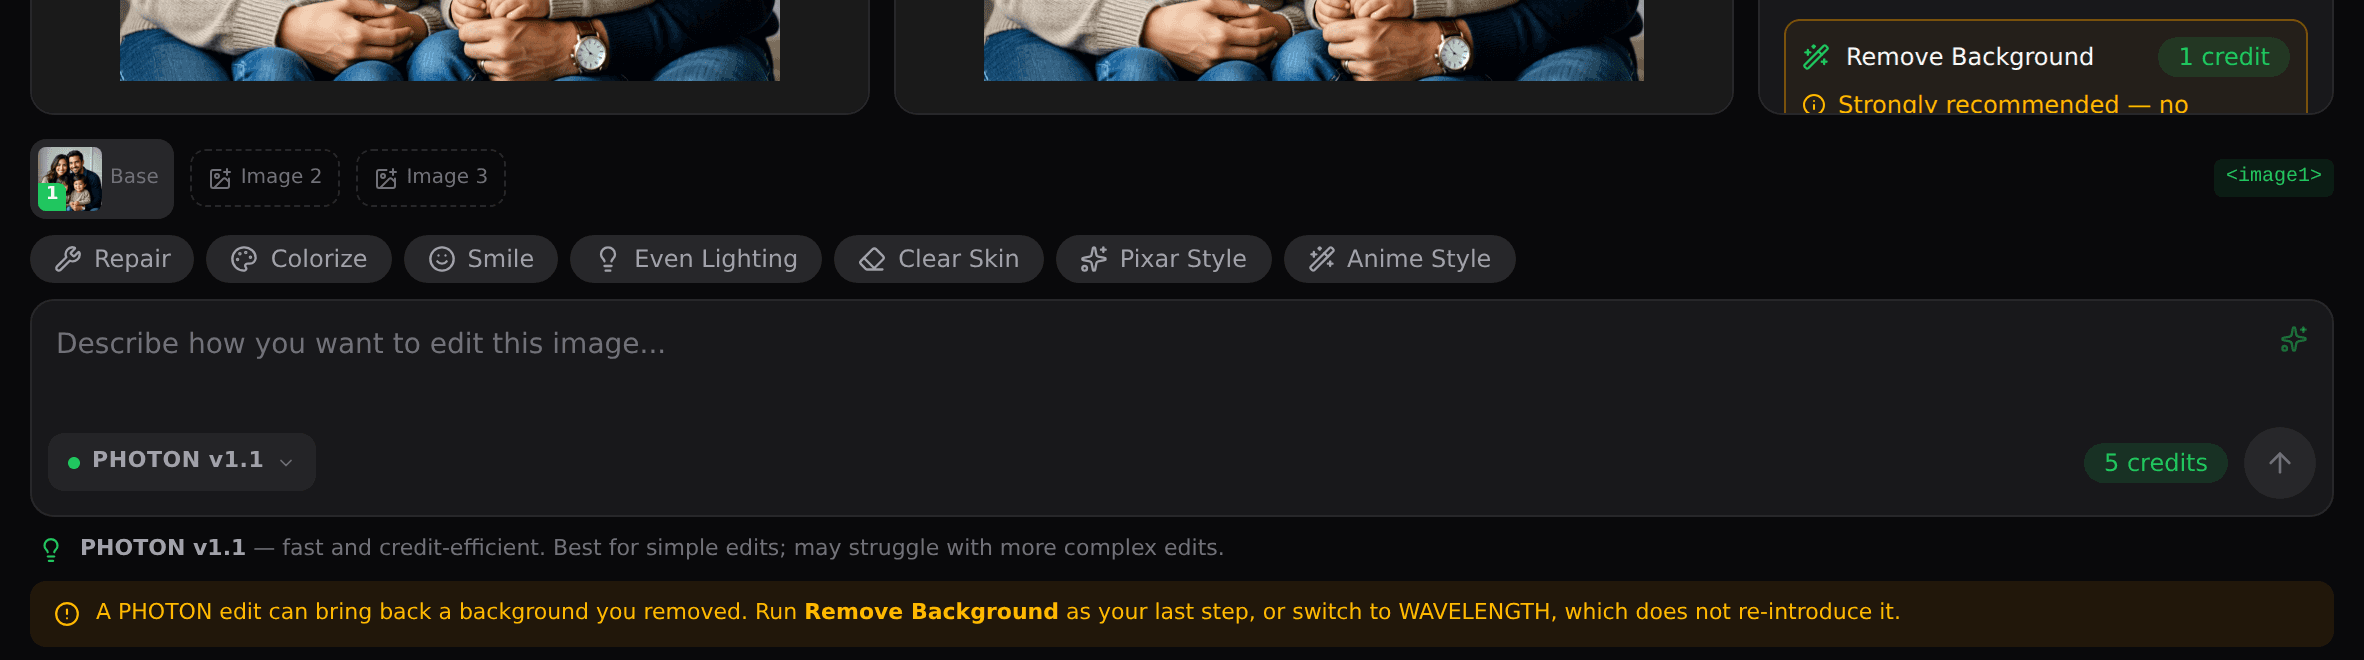
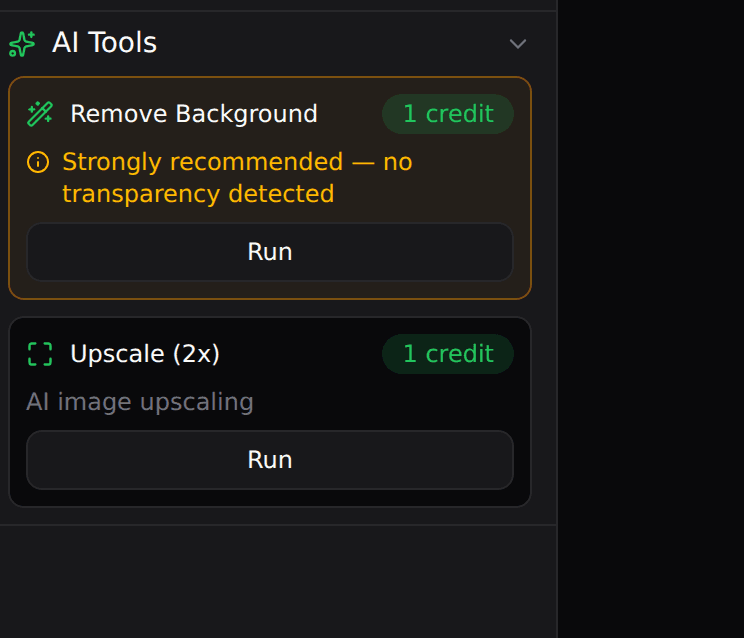
AI tools. Remove Background cuts your subject out cleanly — the app flags when it is recommended (for example, when no transparency is detected). Upscale (2×) doubles the resolution for crisper engraving on larger pieces. One tip the editor surfaces: run Remove Background last, because a PHOTON edit can reintroduce a background you removed (WAVELENGTH does not).
When the image looks right, use the bottom bar to Export a PNG, or Send to Mesh Studio or Embossing Studio to continue a workflow without re-uploading.

Embossing Studio — height maps for surface engraving
Embossing Studio turns a flat image into a bas-relief height map: a grayscale image where brightness stands for height, which a laser reads to carve a raised, tactile relief into a surface. Upload an image or send one from Photo Studio, pick the emBOSS v1.0 model, and press Generate — the cost is shown on the button.
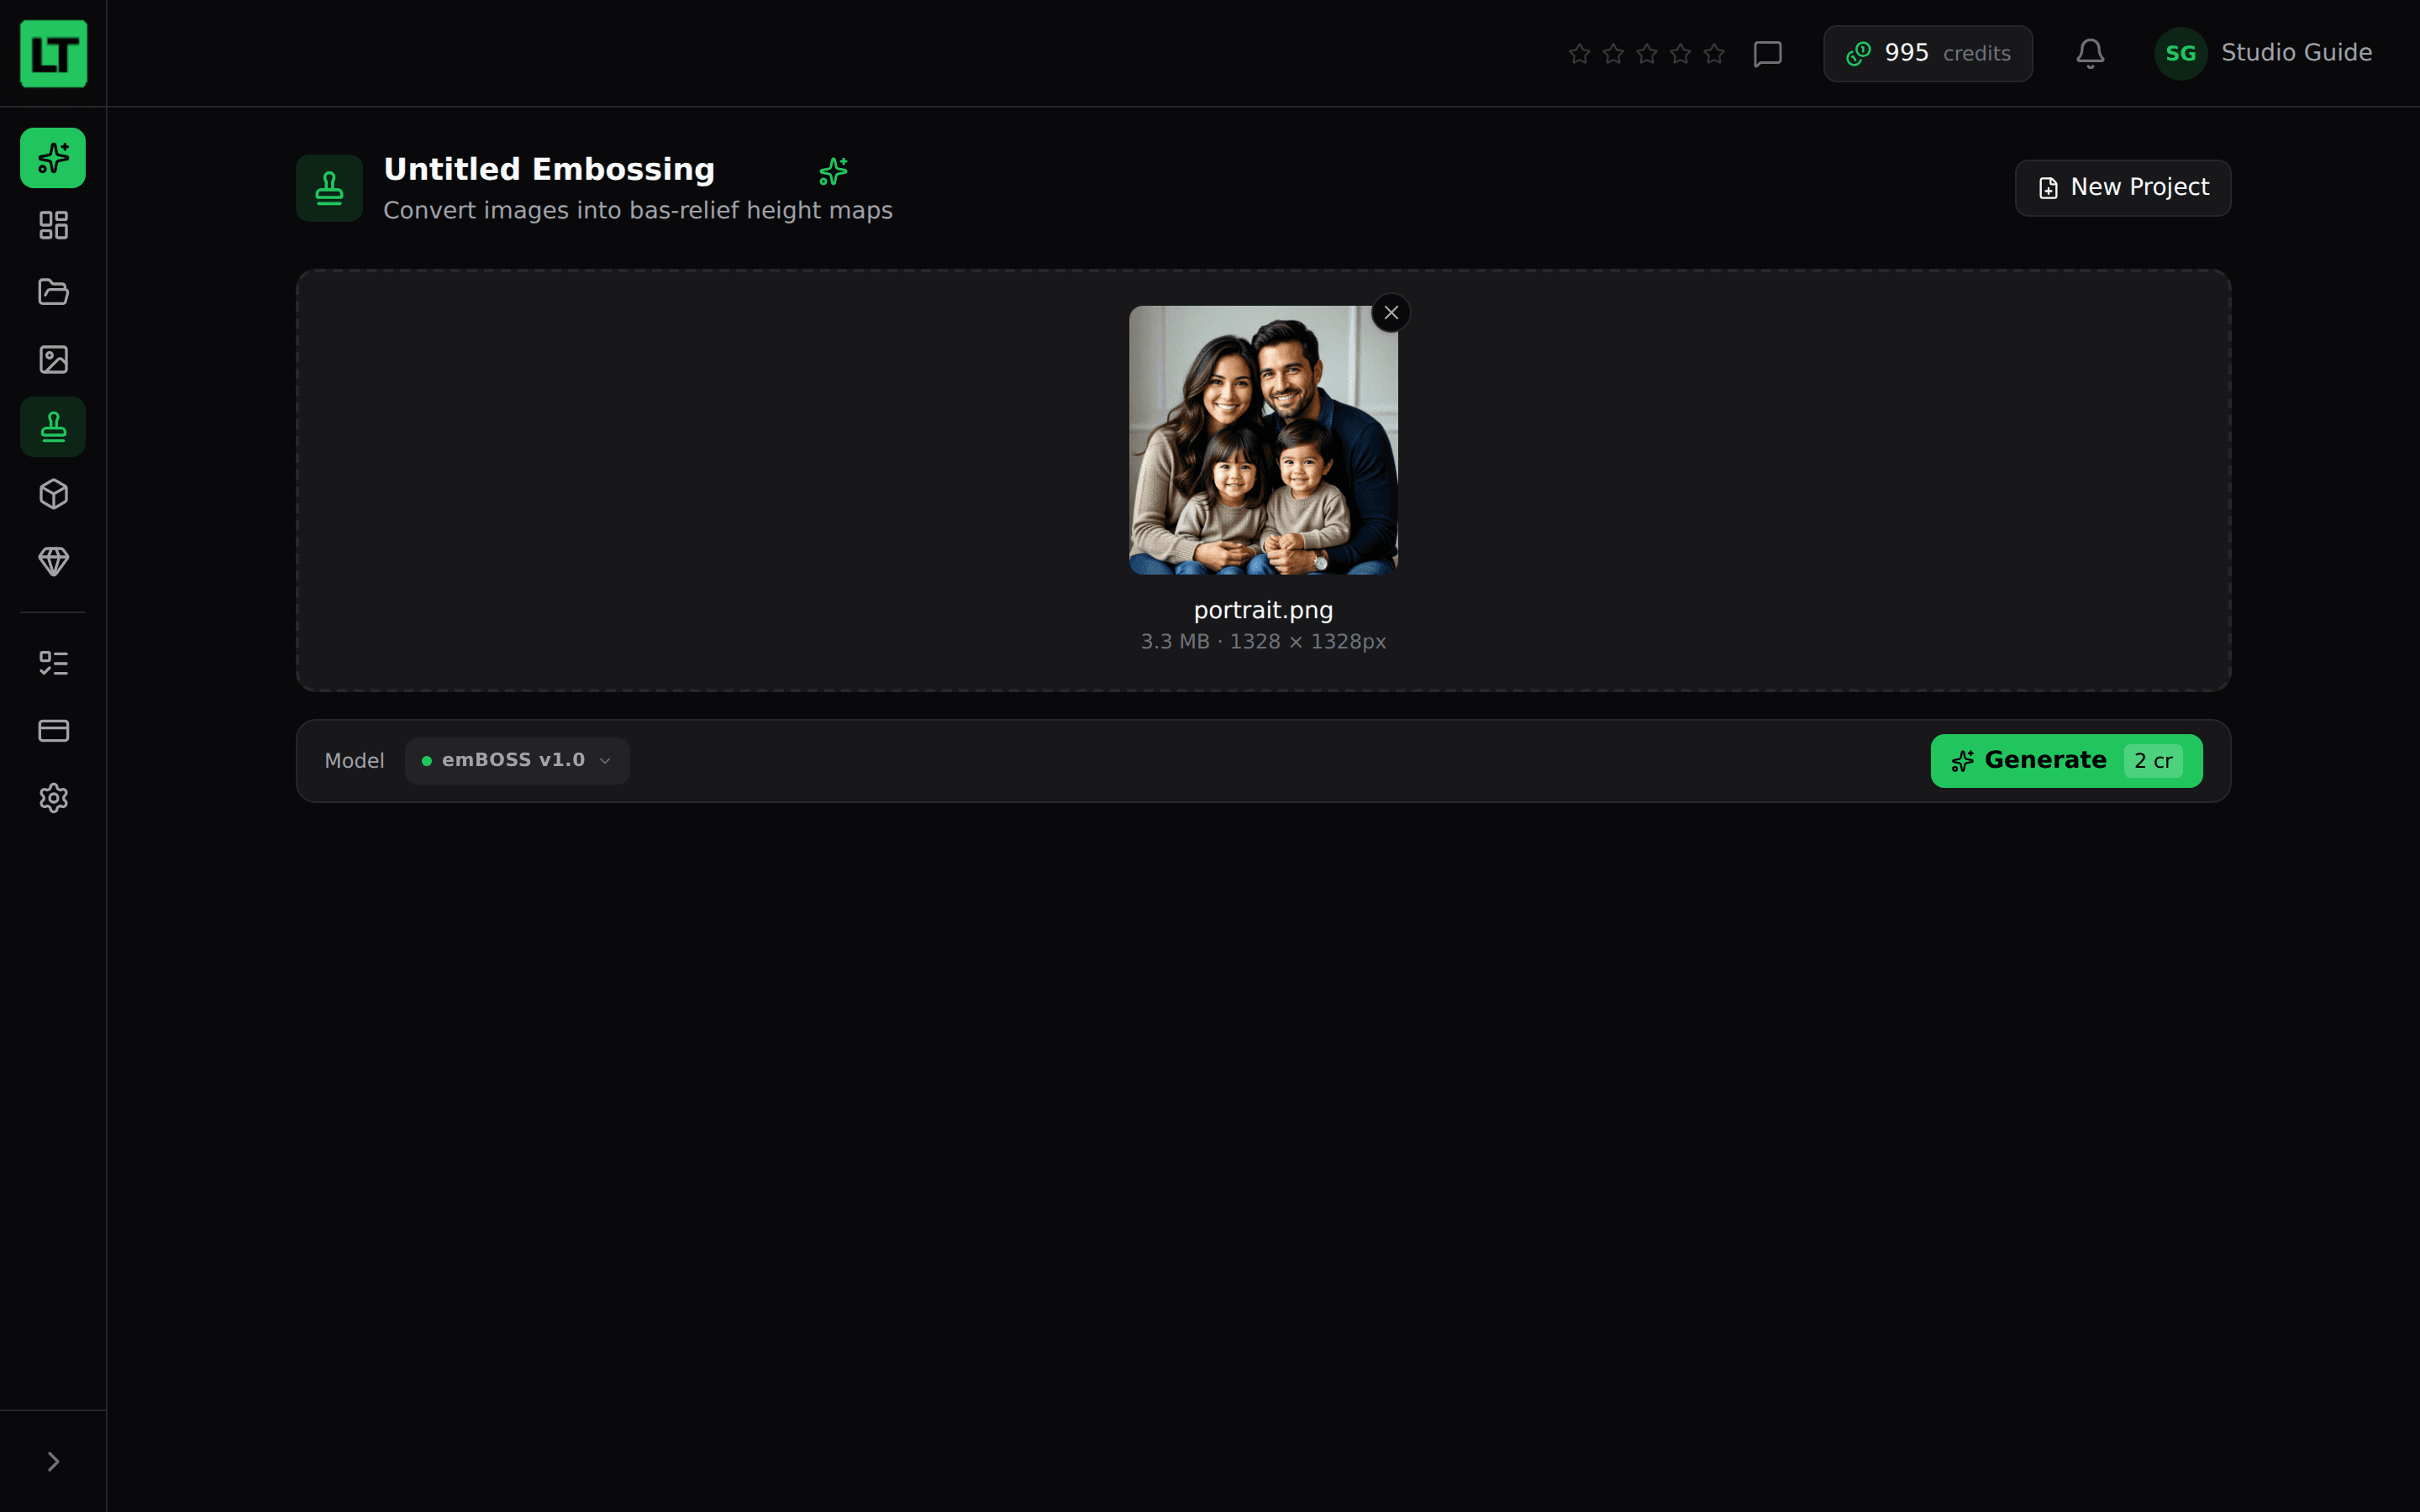
After it generates, you get a live 3D preview you can orbit (toggle between the original Photo and the Depth view), a Depth Scale slider to exaggerate or soften the relief, and a rectangle or circle crop. Export is an 8-bit PNG with transparency, ready to load into your laser software. For the full step-by-step, see the Embossing Studio walkthrough.
Mesh Studio — a 3D mesh from a single photo
Mesh Studio estimates depth from one image and builds a 3D mesh you can engrave or carry into Crystal Studio. Upload or send an image, then choose a generation mode:
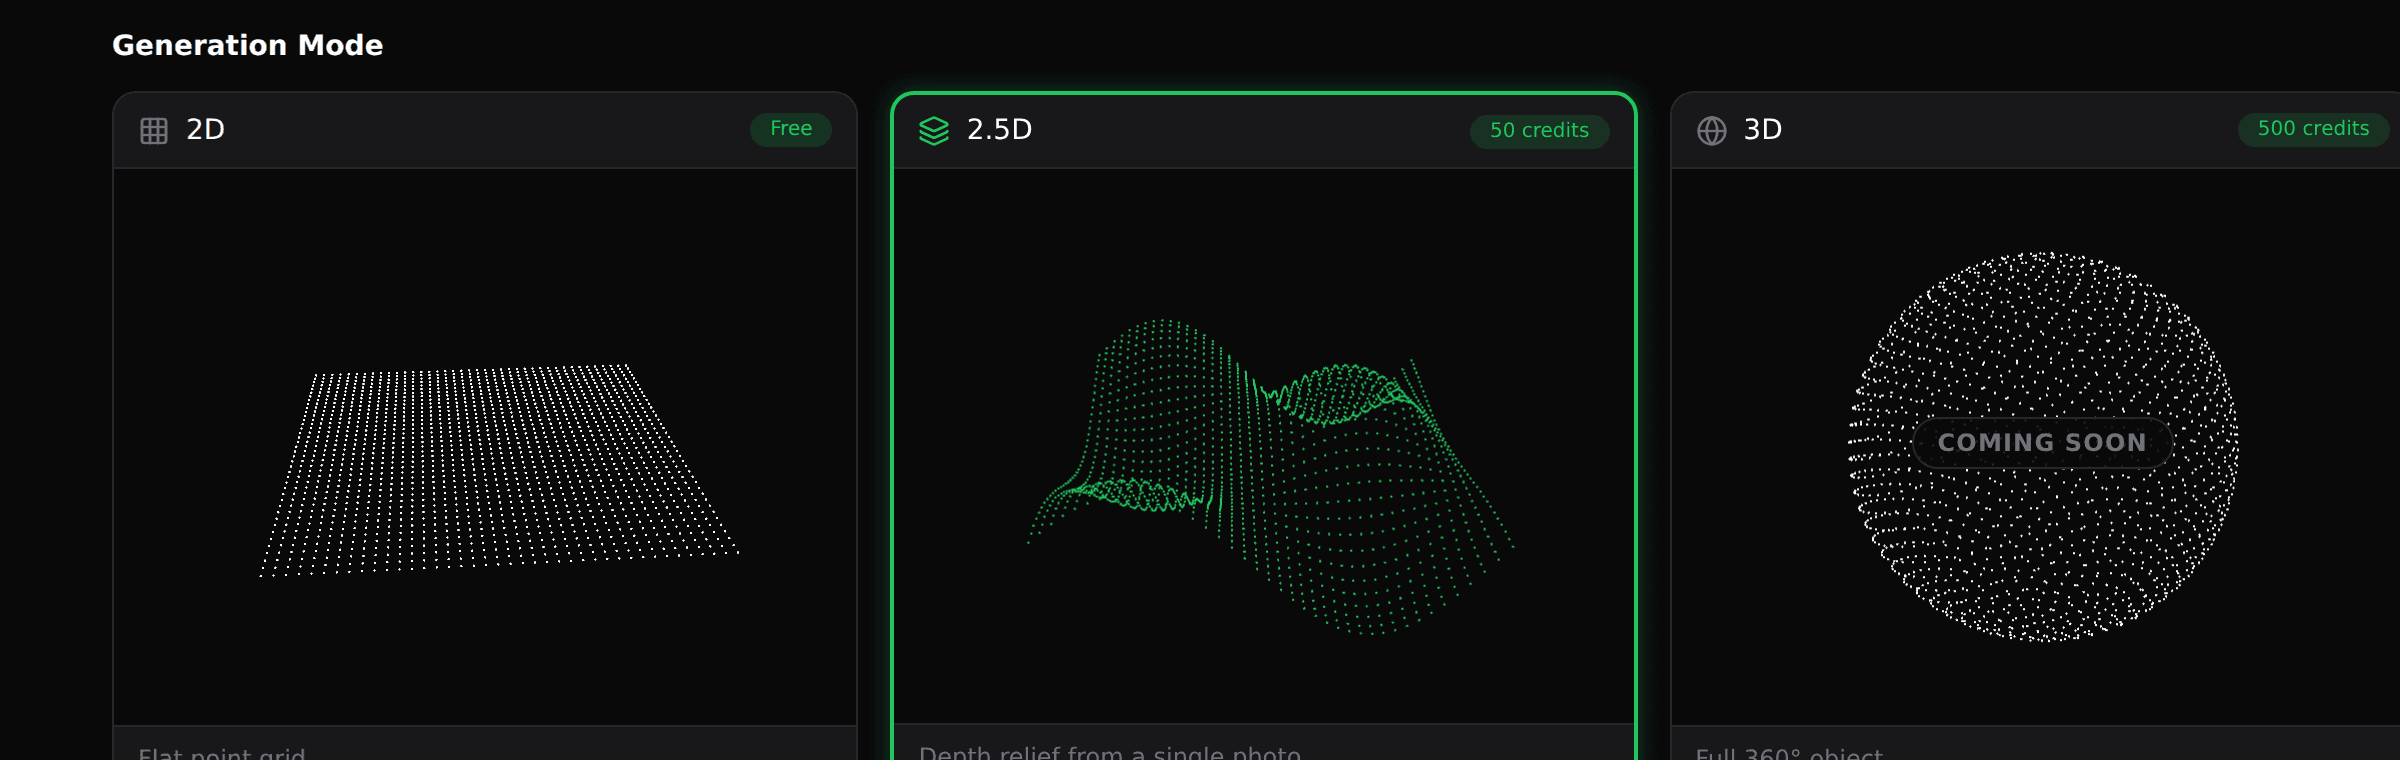
- 2D — a flat mesh built from your image. Free, and the mode to use when your image is headed for Crystal Studio: import the 2D mesh there and the crystal conversion builds the depth.
- 2.5D — depth relief from a single photo, lifting the subject into a 3D relief. Dimensional v4 handles people, pets, and general scenes; Persona v1 is built for photos of people.
- 3D — a full 360° object, in Beta, via 3Dimensional v1.1 (textured) or 3Dimensional v2. Both return a full-colour textured mesh and do best on simple shapes. Remember that engraved glass has no occlusion, so a 3D object shows its far side through its near side, and that it carries many more points and therefore engraves more slowly.
Press Generate Mesh and you get a 3D preview to orbit, export options (PLY, GLB, STL, DXF), and a one-click Send to Crystal Studio. The full step-by-step is in the Mesh Studio walkthrough.
Crystal Studio — compose a scene and convert to a point cloud
Crystal Studio is a 3D workspace for subsurface laser engraving — the kind that suspends an image inside a glass block. You arrange meshes, text and artwork inside a virtual crystal, then convert the scene into a point cloud: the cloud of tiny points a subsurface engraver turns into dots inside the glass. This section is a tour; for the full, control-by-control guide see the Crystal Studio walkthrough.
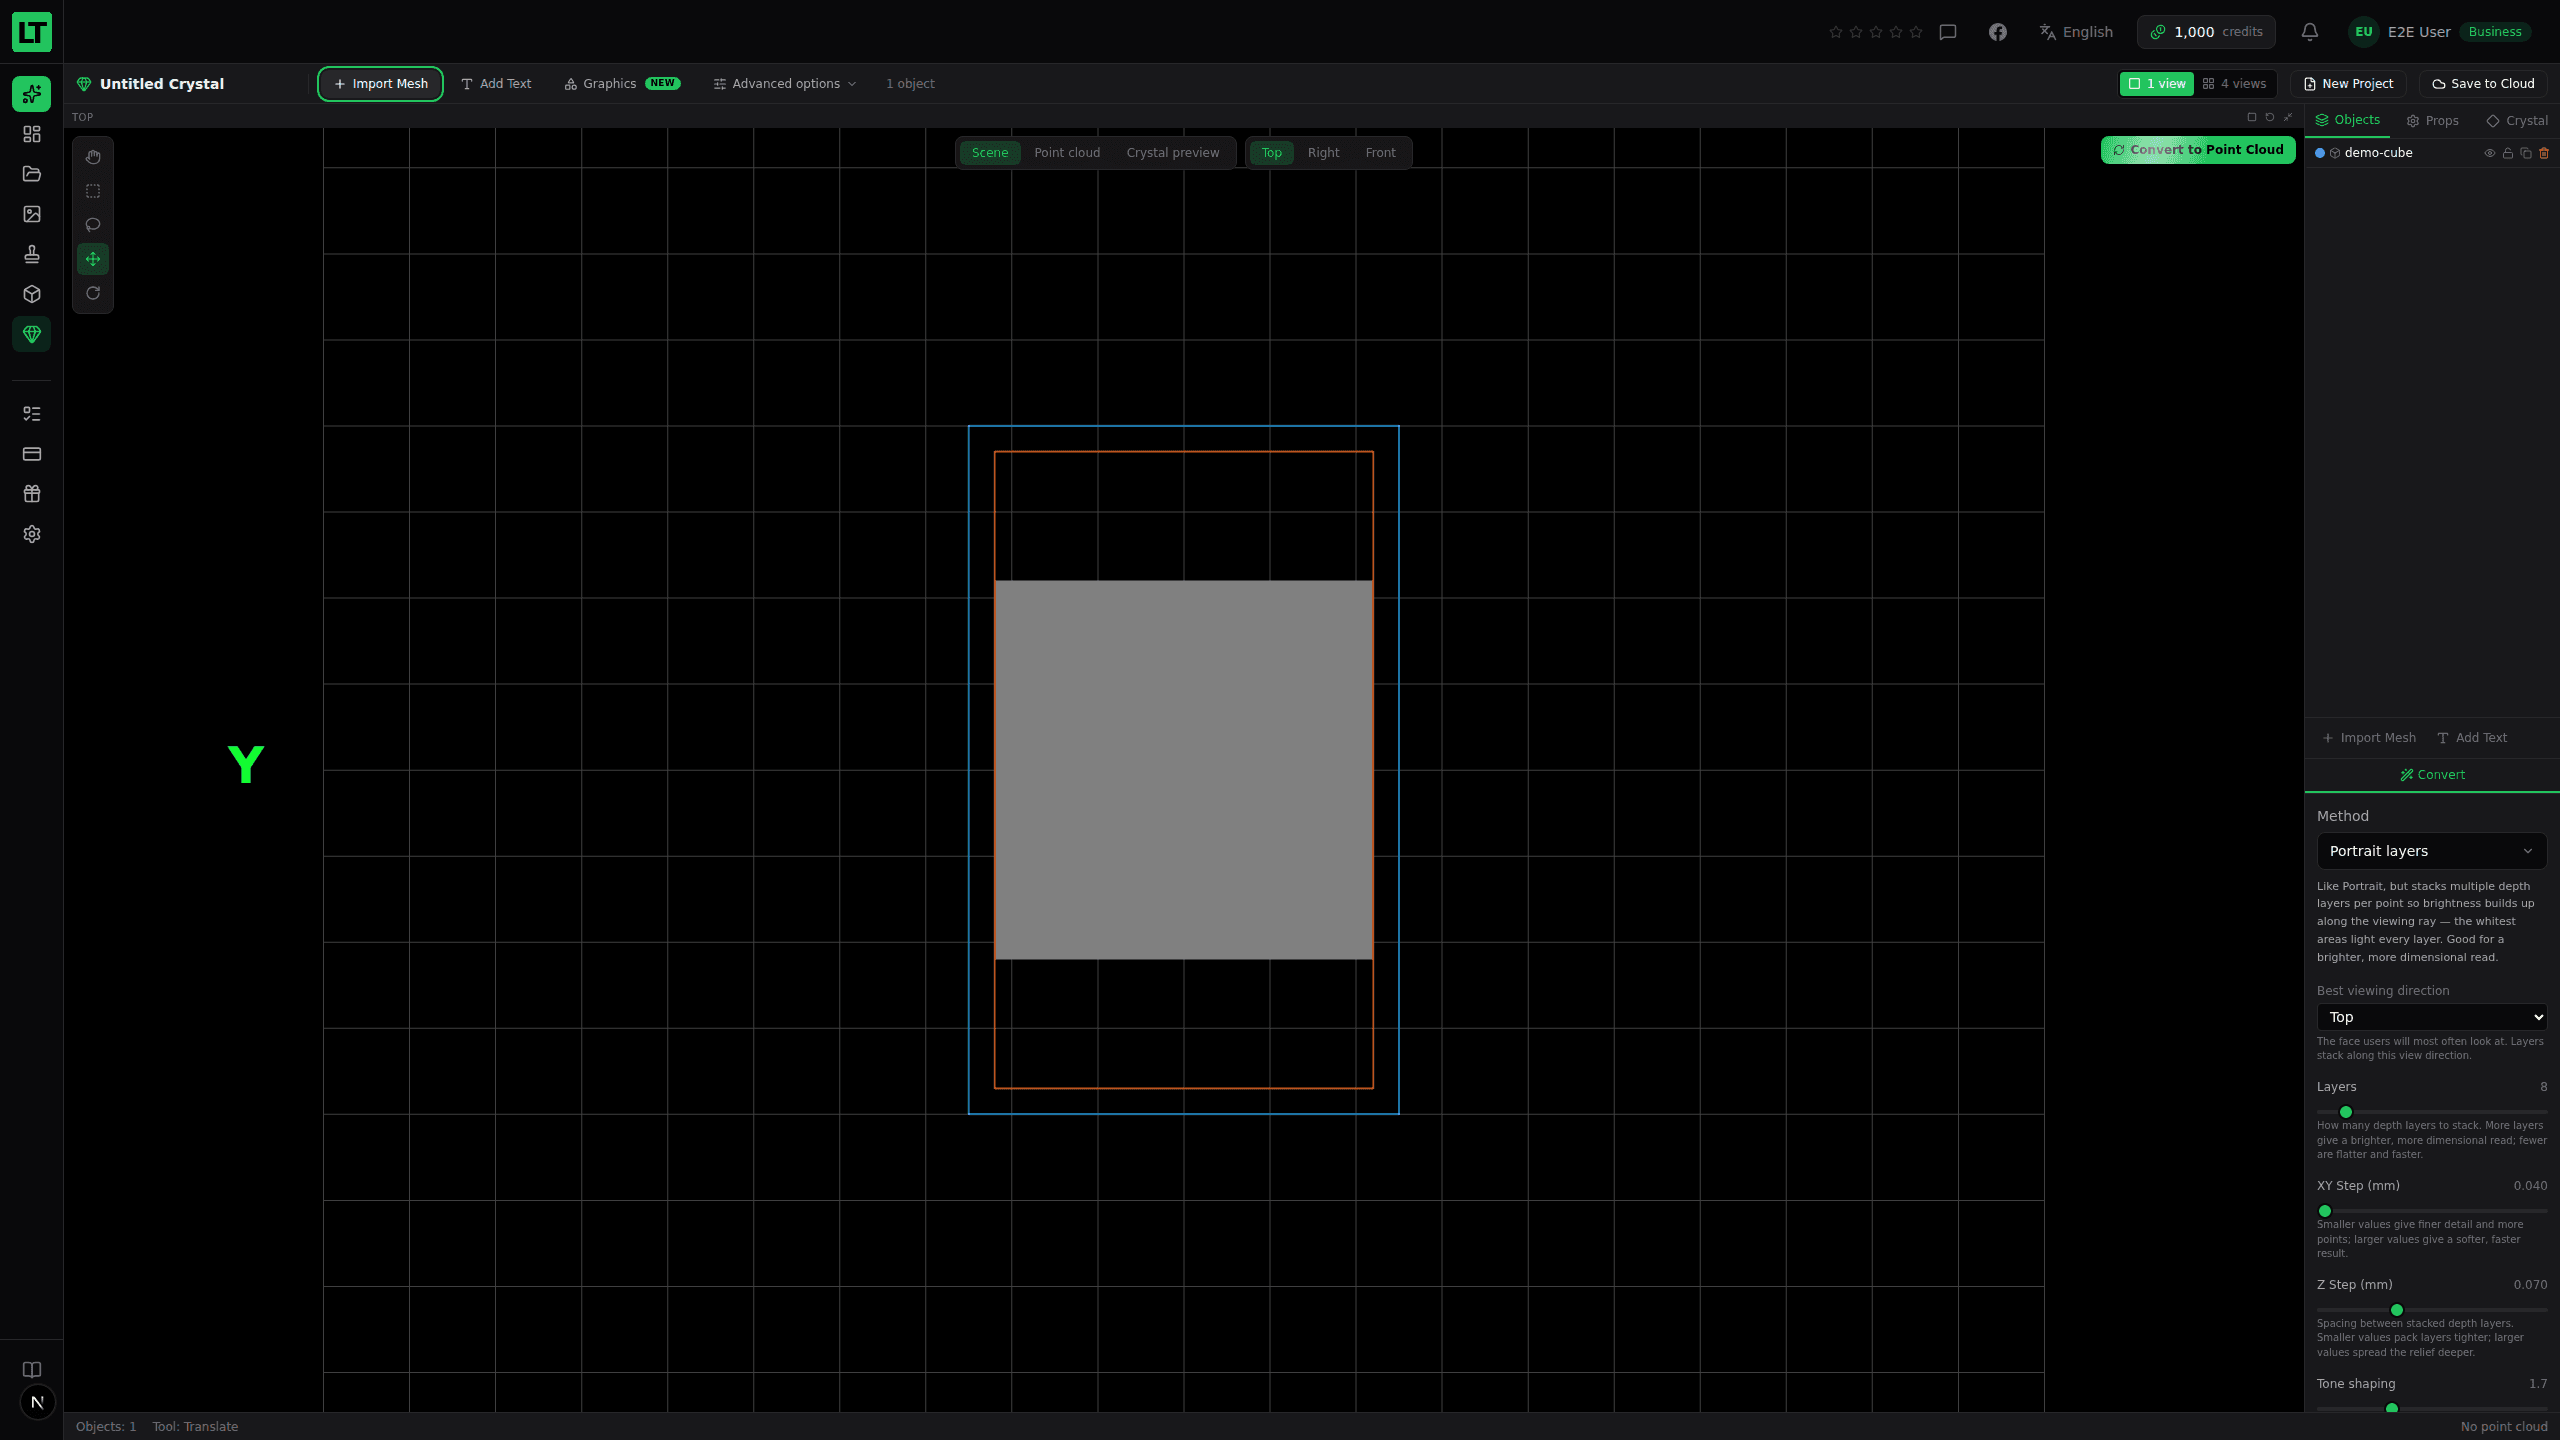
One window or four. Crystal Studio opens on a single large window, and a floating bar across the top of it switches between three things: the Scene you are building, the Point cloud you have generated, and the Crystal preview that renders the result as lit glass. A second bar swings the view to look from the Top, Right or Front. Prefer to see everything at once? 4 views in the top-right corner splits the screen into the three orthographic views plus a fourth window for the result.

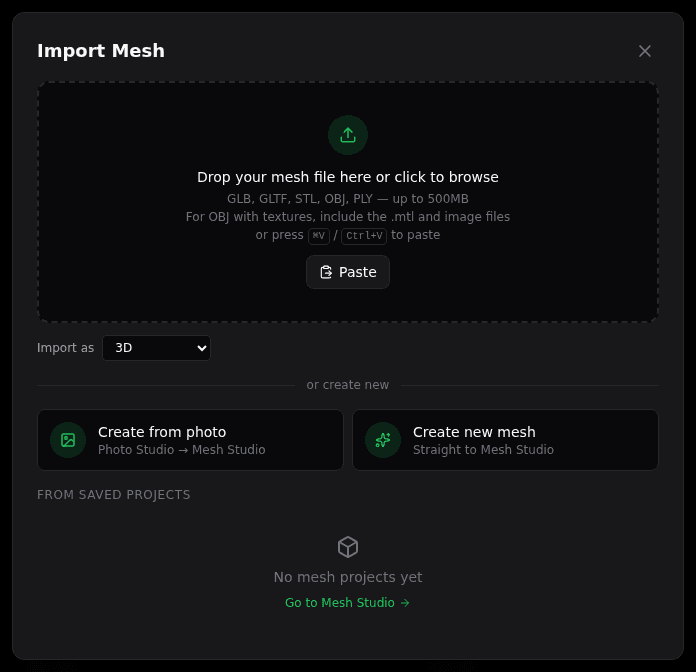
Add your model. Use Import Mesh to bring in a GLB, GLTF, STL, OBJ or PLY mesh (including one sent from Mesh Studio), Add Text to place editable 3D text, or Graphics to drop in ready-made vector artwork — frames, floral, heraldic, memorial, animals and more, or your own SVG. Note that Crystal Studio works from meshes, so a flat photo needs a trip through Mesh Studio first: use its 2D mode to turn the image into an importable mesh.
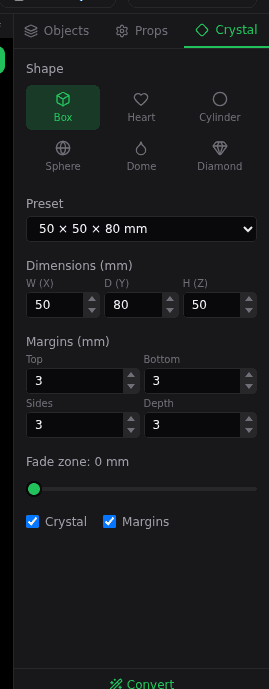
Shape the crystal. The Crystal tab sets the blank: choose a shape (Box, Heart, Cylinder, Sphere, Dome or Diamond), pick a size preset or enter dimensions in millimetres, set margins (the border kept clear around your image), and use the fade zone to soften the engraving near the edges.
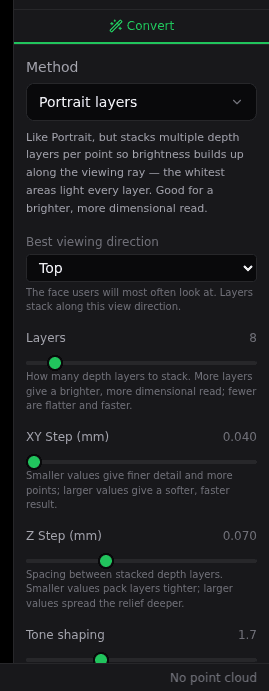
Convert to a point cloud. On the Convert tab, Portrait layers is the standard method and the right default: it stacks several depth layers per point so brightness builds up along the viewing ray, which is what gives a crystal bright highlights and a dimensional read. Portrait layers HD sits beside it, marked experimental — the same idea spread across a finer grid, for sharper texture at the same point count. Both ask for a Best viewing direction (the face people will look at, and the direction the layers stack along) and offer Layers, XY/Z step (detail against speed), tone shaping (shadow and highlight balance), and a smooth pass that you should leave on.
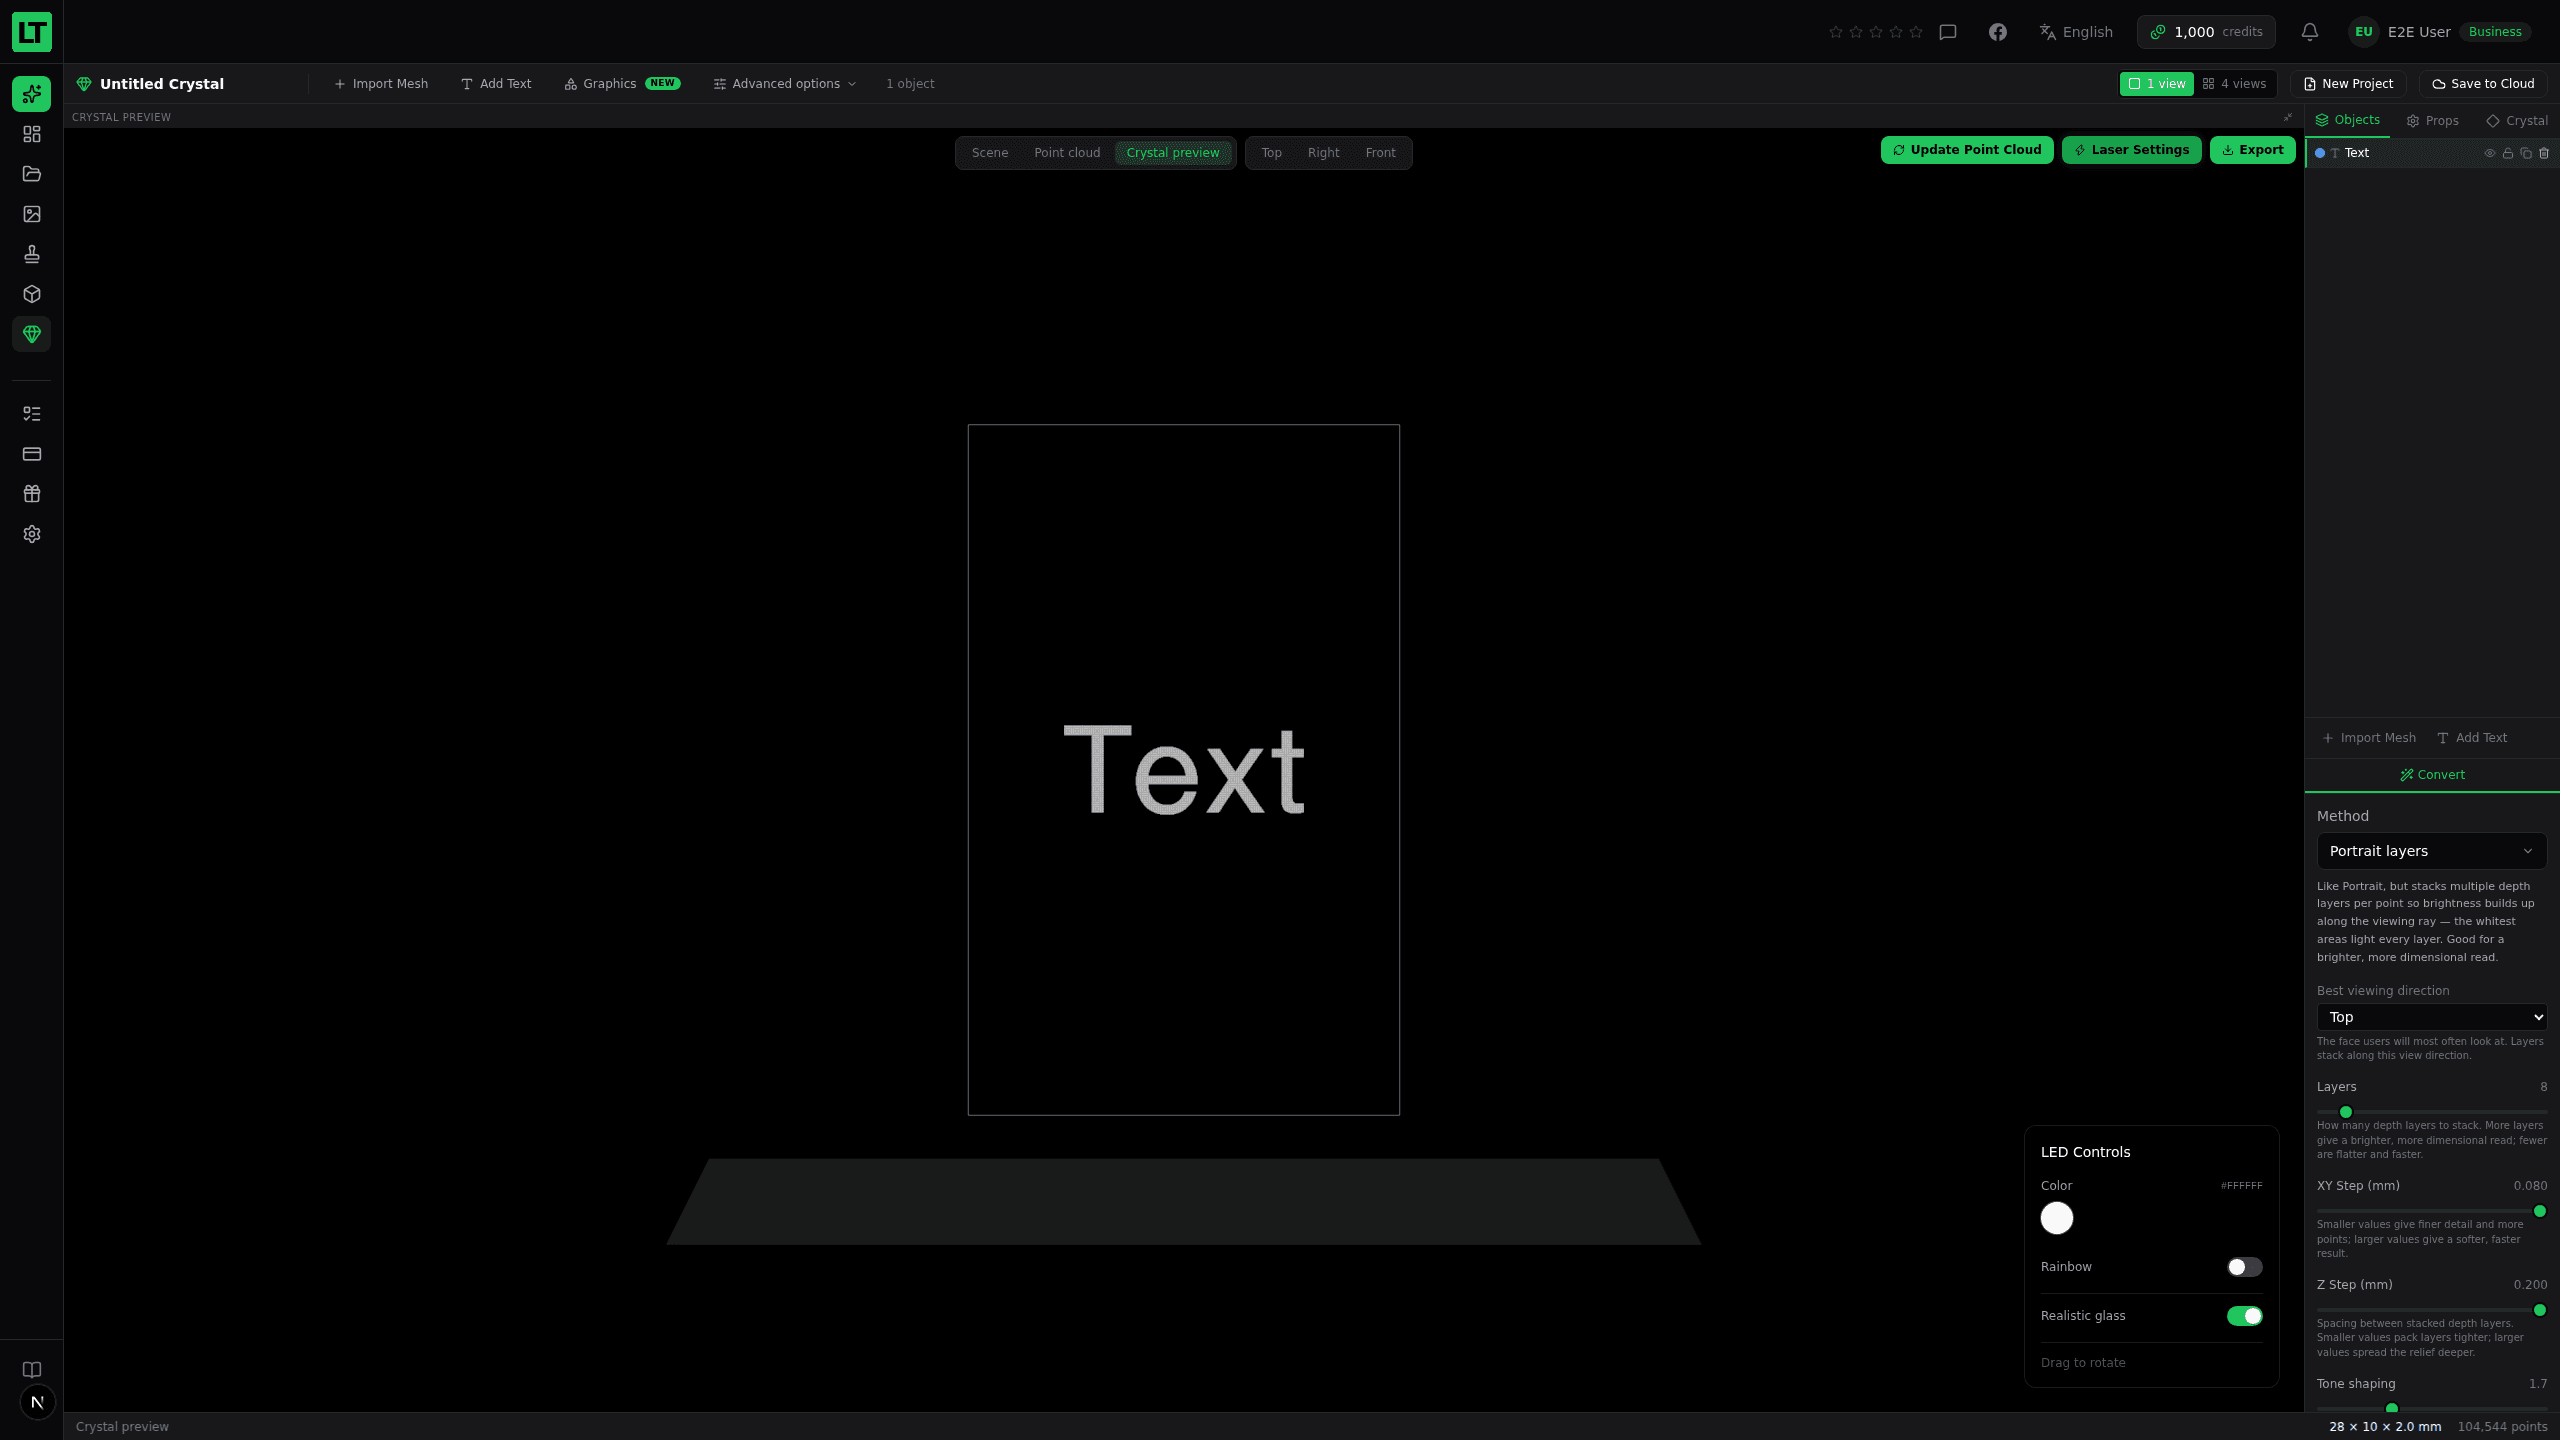
Check it before you burn it. Press Convert to Point Cloud and the studio takes you to the Crystal preview: your engraving rendered as points lit inside glass on an illuminated base, with controls for the base colour and a more realistic glass render. It is the same view a customer sees if you send them a preview link, and it tells you far more than a cloud of dots does.
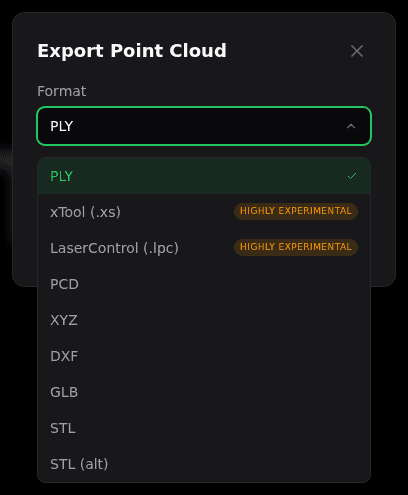
Export. Nine formats, with PLY the default and the safe answer for most machines. Alongside the geometry formats (PCD, XYZ, DXF, GLB, STL and STL (alt)) there are two highly experimental straight-to-machine options — xTool (.xs) and LaserControl (.lpc) — that write a complete job rather than raw points; the xTool one adds a placement panel telling you how to stand the blank in the machine.
Tell us what you think
We genuinely act on feedback, and it is the fastest way to shape what we build next. You will find a row of stars and a speech-bubble icon in the top-right corner of every page.

Click a star to rate your experience, or the speech bubble to open the form. A rating and a message are both optional, so even a single star tap helps. Please use it — whether something delighted you or got in your way.

Where to go next
Ready to go deeper? Read the Photo Studio walkthrough, the Crystal Studio walkthrough, the Mesh Studio walkthrough, and the Embossing Studio walkthrough, or the conceptual guides on photo to crystal engraving, AI image generation for engraving, and what a point cloud is.