What Mesh Studio does
Mesh Studio estimates depth from a single image and builds a 3D mesh from it — no 3D modelling required. That mesh can be exported on its own, or sent straight into Crystal Studio as the first step of the photo-to-crystal workflow. If you are new to the studios, start with the studios overview.
1. Bring in an image
Drag and drop a file, click to browse, or paste from your clipboard. The cleanest results come from a clear subject with good contrast, so it is worth preparing the image in Photo Studio first — there you can remove the background, adjust levels, and even generate an image from scratch, then click Send to Mesh Studio to carry it over without re-uploading.
2. Choose a generation mode
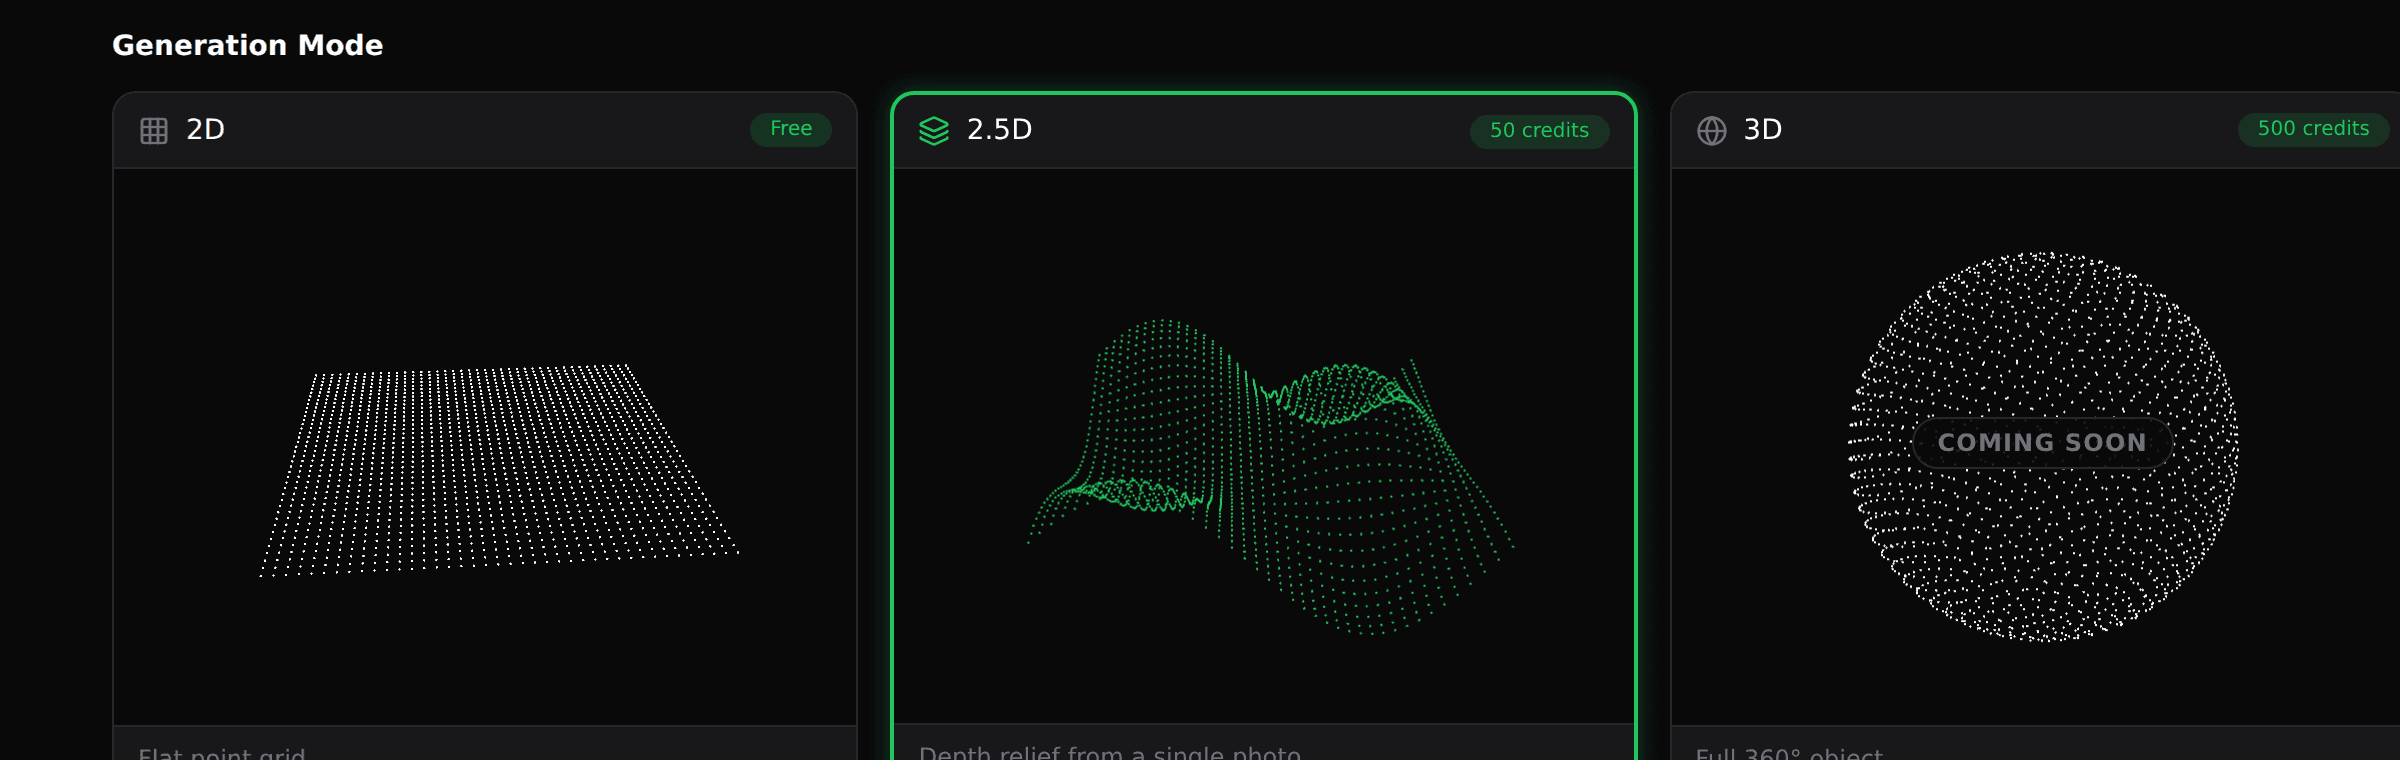
Once your image is in, pick how much depth you want. 2D and 2.5D show their credit cost on the mode card itself. 3D offers more than one model, so its cost sits on the model card you choose rather than on the mode card.
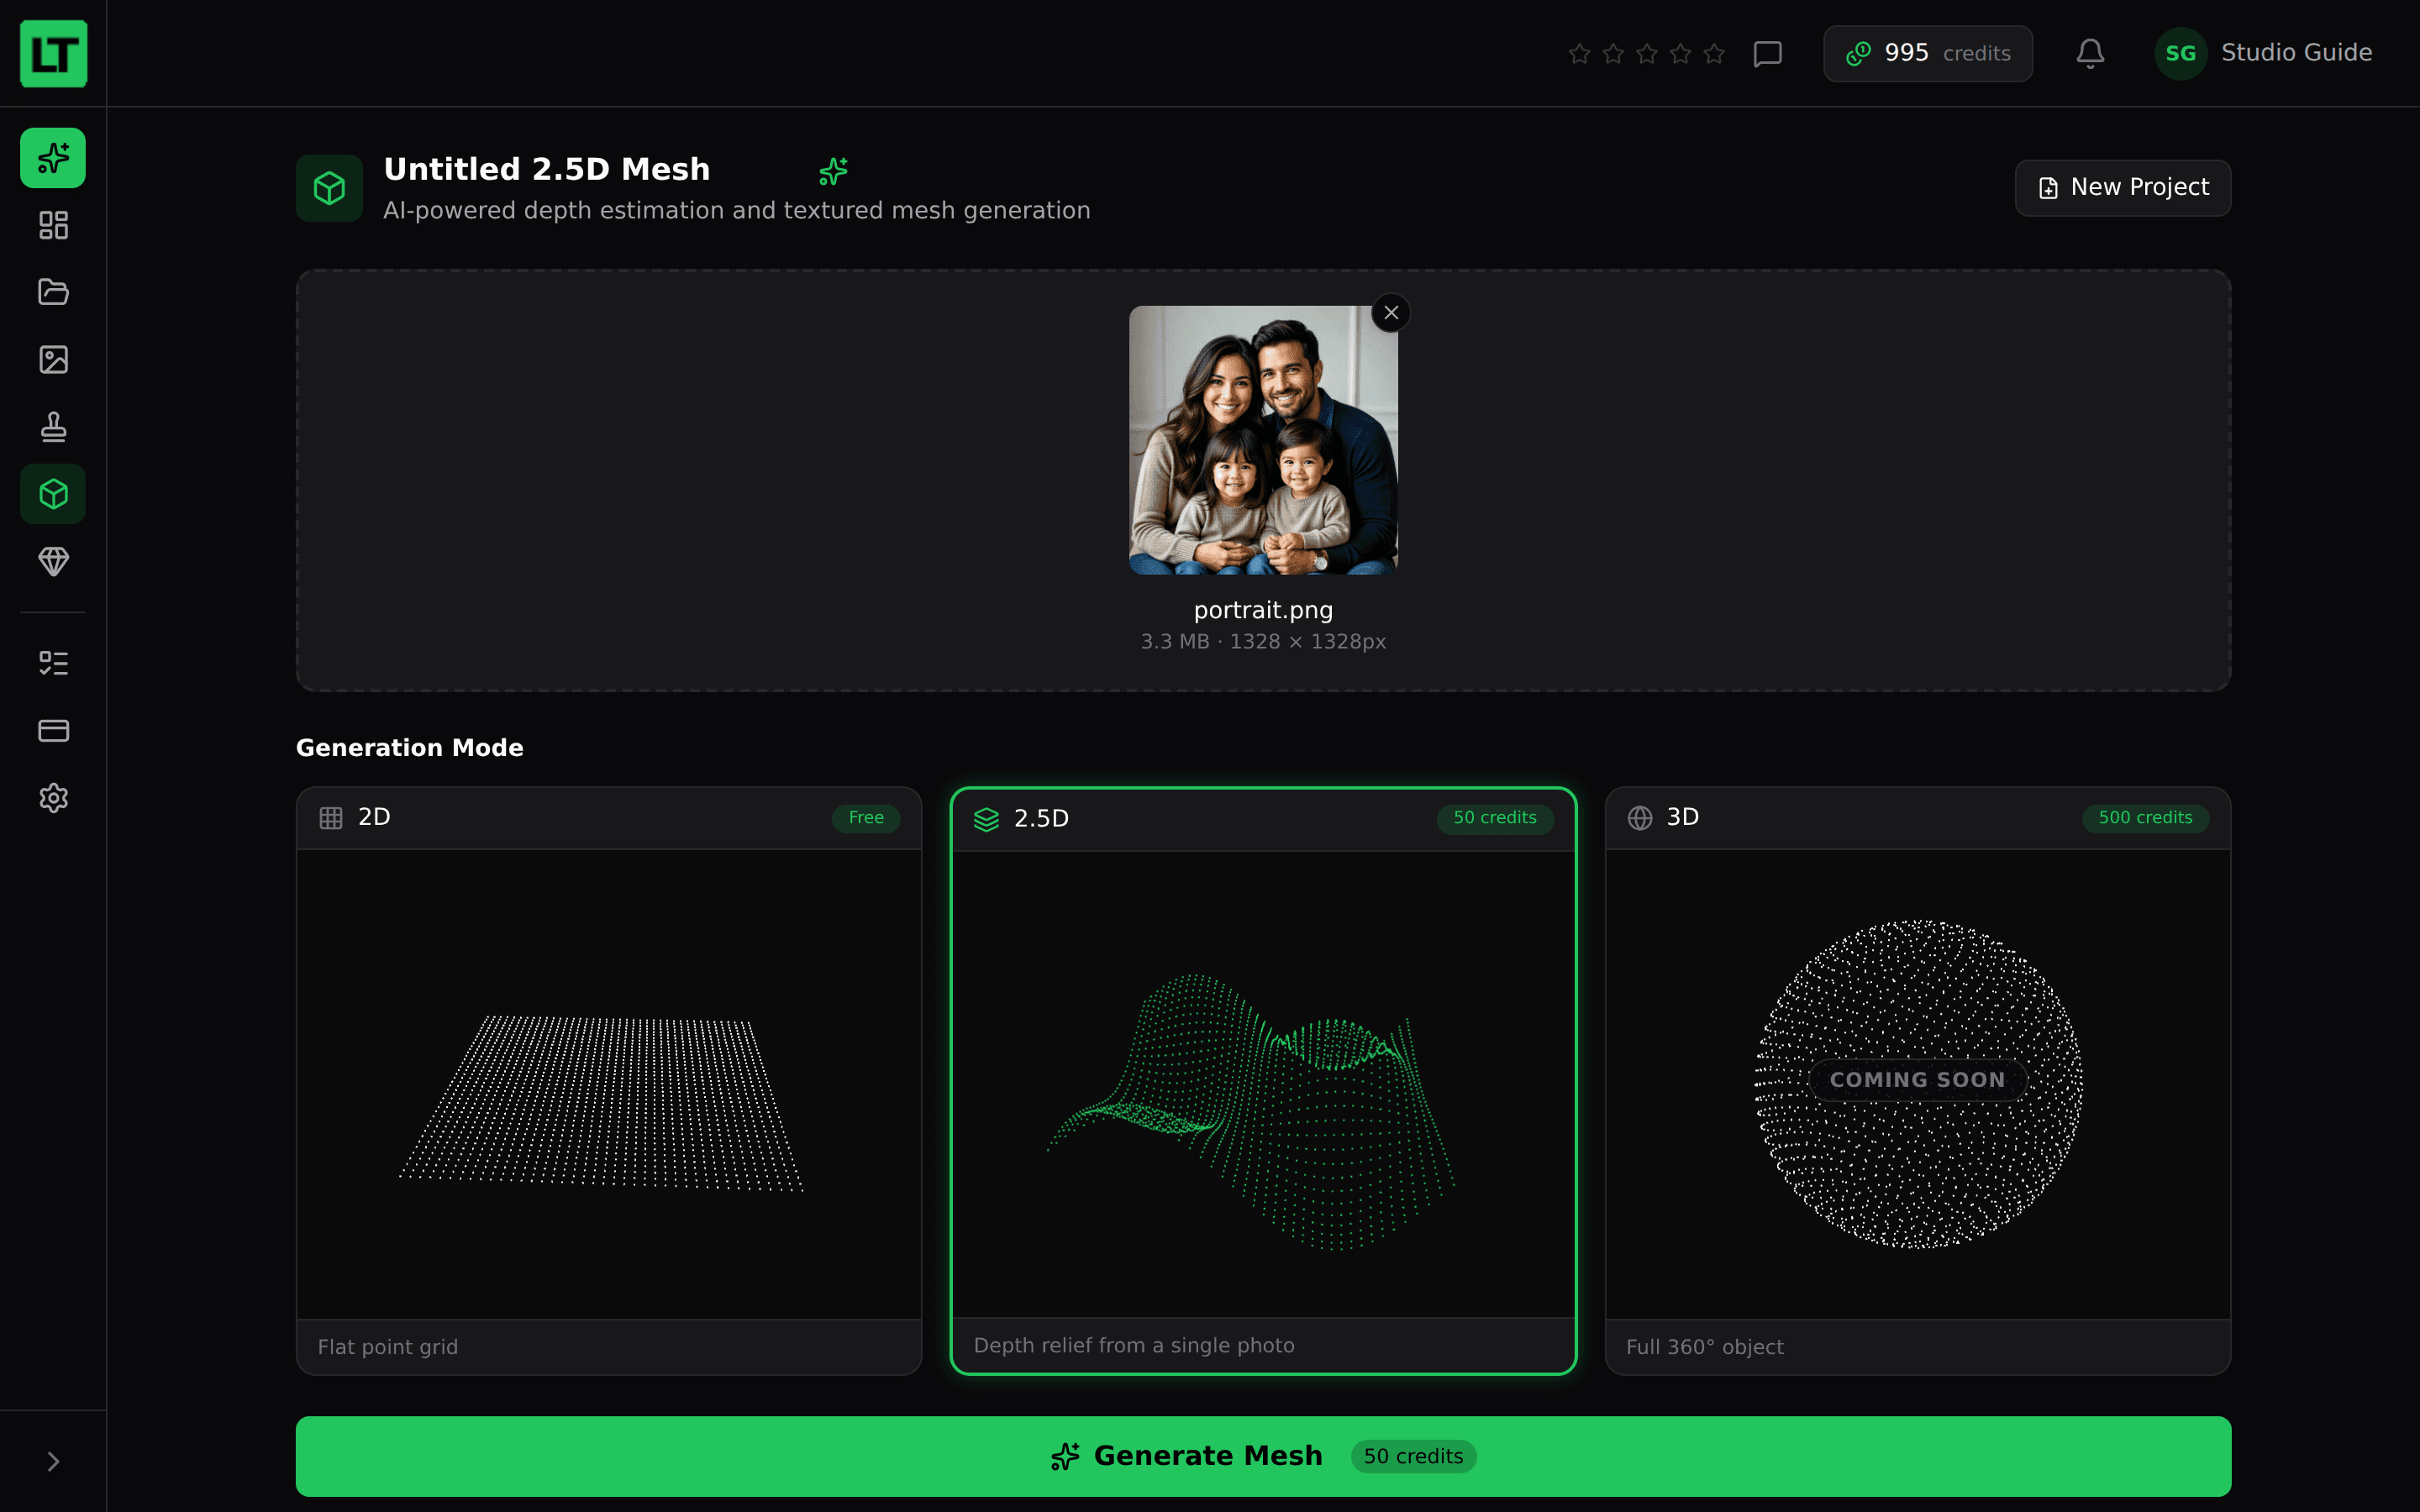
- 2D — a flat mesh built from your image. Free, and the mode to use when your image is headed for Crystal Studio: import the 2D mesh there and let the crystal conversion build the depth.
- 2.5D — depth relief from a single photo, lifting the subject into a believable 3D relief while staying fast and predictable. Choose Dimensional v4 for people, pets, and general scenes, or Persona v1 when your photo is of a person. Persona is built for people specifically — run it on an image without one and the result will be broken and unusable.
- 3D — a full 360° object, marked Beta. Two models are available: 3Dimensional v1.1 (textured) at 100 credits, and the newer 3Dimensional v2 at 100 credits. Both return a full-colour textured mesh, both work best on simple shapes, and quality varies while the feature is in Beta.
3. Generate and preview
Press Generate Mesh. A progress bar tracks the work, and when it is queued you will see your position and an estimated wait — you can safely leave the tab and your result will be waiting. When it finishes, the textured mesh appears in a 3D preview you can orbit, pan, and zoom to check the relief from every angle.
4. Export, or send to Crystal Studio
From the result you can export the mesh as PLY, GLB, STL, or DXF for use elsewhere, or click Send to Crystal Studio to drop it straight into a crystal scene. From there you compose the layout and convert it to a point cloud — see the studios overview for the Crystal Studio steps, and what a point cloud is for the background. For more on meshes for engraving, see creating 3D meshes for laser engraving.
Working with 3D meshes
A full 3D object behaves differently inside glass than a relief does, and three things are worth knowing before you commit a crystal to it.
Nothing hides anything else. An engraved crystal is transparent all the way through, so there is no occlusion: you see the far side of the object through the near side. Engrave a head in 3D and the back of it shows faintly through the face. That is not a fault in the mesh — it is simply how a solid object reads in glass. Simple, open shapes handle it well; busy models packed with internal detail turn muddy.
Texture colour does more work than you expect. Because both sides are visible at once, the tones in the texture decide what reads and what recedes. A bright front against a darker back separates cleanly; two similar mid-tones stacked on top of each other do not. You set that balance in Crystal Studio with the 3D color control — the Crystal Studio walkthrough covers how.
3D engraves more slowly. A closed object is sampled across its whole surface rather than just the face, so it carries far more points than a 2.5D relief of the same subject. Expect a noticeably longer machine time for the same physical crystal, and check the point count before you start a long job.